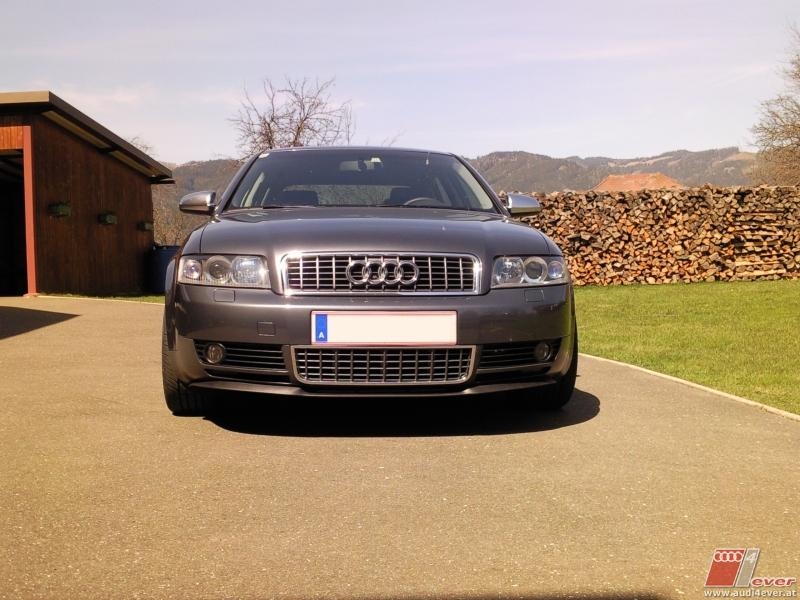
Einbau beider B6 S4 Grille in die Standardfront
Dauer: alleine ca. 4 Stunden
***************
Grill Teilenummern:
Oben: 8E0 853 651 D 3SR – S4-Kühlergrill, granit-metallic (Ö: ~90€)
Unten: 8E0 807 647 B 3SR - S4 Luftführungsgitter mitte, granit metallic (Ö: 108,6€)
(Preise Stand Februar 2009)
Werkzeuge:
Handsäge, Dremel mit Trennscheiben, 2mm Bohrer und Schleifzylinder, Schraubendreher
+ 7 Schrauben
Adapt both B6 S4 Grille in B6 Standard bumper
lasts about 4 hours
***************
Grill Partnumbers:
Top Grill: 8E0 853 651 D 3SR
Bottom Grill: 8E0 807 647 B 3SR
Tools:
Handsaw, Dremel with cutting wheel, 2mm driller and grind cylinder wheel, Screwdriver
+ 7 Screws for plastics
***************
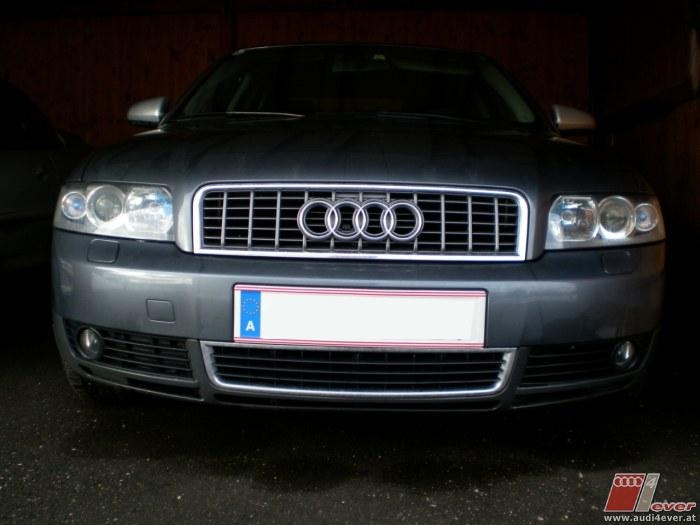
- Der obere Grill ist 1:1 tauschbar, Motorhaube auf, hinten ausklipsen, S4 Grill einklipsen
- Der untere ist ohne die Standardfront zu bearbeiten nicht montierbar da er größer ist und eine andere Form hat.
Darum muss man hier ein wenig modifizieren
Zuerst den unteren Standard Grill herausnehmen (in die obersten Speichen fassen, nach unten drücken und mit einem Ruck herausziehen)
- Top Grill is 1:1 changeable, open the motor hood, clip the original grill out from behind, clip in the new S4 Grill
- The Bottom Grill doesnt fit in without modification, because of the size
First remove the original bottom grill (catch the top spokes of the grill, pull under and flip it out)
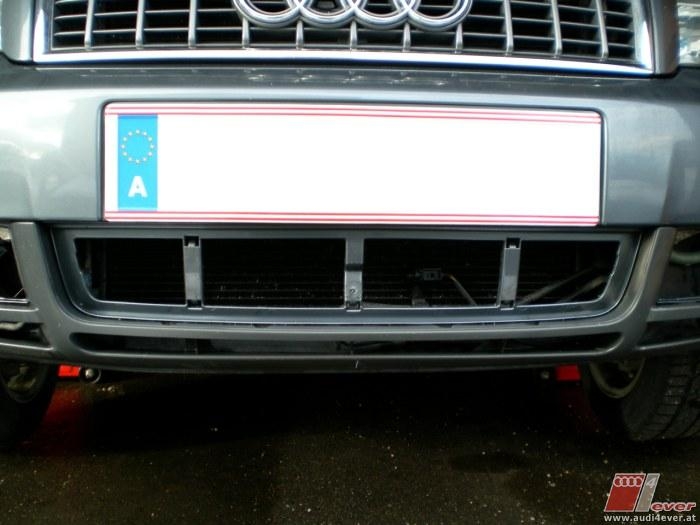
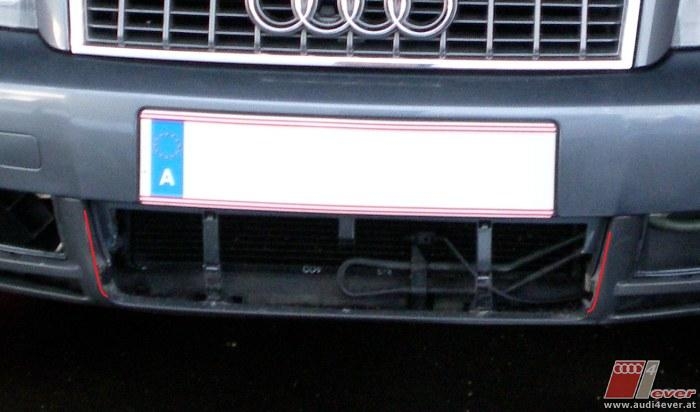
Danach mit einer Handsäge den unteren Steg komplett rausschneiden, die äußeren vertikalen Versteifungsstege im Grillloch stehen lassen, den mittleren kann man abschneiden (siehe unten am BILD)
Die äußeren Stege so bearbeiten, dass sie von Ausbuchtungen befreit sind und glatt verlaufen.
After this cut out the complete lower horizontal bar, the outer 2 vertical bars needs to stay , the middle bar you can modify as you can see in the picture
Modify the outer 2 vert. bars so that they are even and clean (picture).


Nun den unteren S4 Grill anhalten, dass oben bei der Kante an der Nummertafelbefestigungsfläche noch ca 2mm Luft ist.
Mit einem Stift oder öhnlichen den Grill ca. 1mm kleiner anzeichnen als er wirklich ist und das mal mit dem Dremel ausschleifen. Immer wieder Grill anhalten und nachbessern (muss sehr genau sein, da man das sonst nachher sieht)
Diese Form muss rundum ca 7mm tief in die Frontschürze gehen, da der S4 Grill am Chormrahmen außen noch einen Rand hat.
Now position the grille over the hole (for estimate the required size of clearance), so that under the edge of license number area is only a approx. 2mm gap
Mark the shape of grill with a pen approx. 1mm smaller at it really is, and then cut this shape out with the dremel. Always check with the grill, because this have to be veery exact - you can see inaccuracies later)
This shape needs to grind in about 7mm into the front bumper, because the chrome frame of the grill has a bulge around


Wenn das dann mal passt, kann man den S4 Grill zerlegen und nur den Chromrahmen einpassen und danach mit Schrauben befestigen. Habe insgesamt 7 Schrauben verwendet, je 2 auf der Seite und 3 oben. Vorher schauen, wo die Schraube am Chromrahmen sein muss damit man sie nachher nicht sieht, dazu genau dort schrauben, wo die dicken Rippen sind, das Innenteil dort außen etwas ausschleifen, um dem Schraubenkopf Patz zu geben
If this is done, demount the frame from the grill and adjust the position of the frame. If the position is OK mount the grill inside with screws. I used 7 screws, 2 on the sides, 3 on top. Look before where the screws needs to be on the chrome frame, so you cannot see it after install the inner grill part, for this place the screws there where the thick spokes are, the inner grill part to be modified (grinder) there to have space for the screw heads
Danach muss nur noch das Innenteil in den Chromrahmen geklipst werden und fertig isses ![]()
Mit diesem Fake des unteren Grills habe ich angefangen ![]()